A Simple Guide for Refurbishing Your Patio
Patio Pointing
Pointing a patio simply means filling in the cracked grouting. This is done by using fixing mortar to seal the gaps between your patio slabs to help your patio look great for as long as possible.
Keeping your patio looking in top shape can be tricky, especially when you consider the harsh weather that we experience over the winter. The freezing temperatures and extreme levels of rain we take on can cause your patio to crack and end up riddled with weeds. To avoid the destruction of your patio and give it a better chance of looking great for longer, it is important that you point your patio. Pointing a patio simply means filling in the cracked grouting.
Step 1: Clean the Area
The first step to patio pointing is making sure your patio and completely clean. You should start by removing any garden furniture out of the way and sweeping any debris that has gathered over time off of the surface.
Step 2: Pressure Wash
Once this is done, grab your pressure washer and wash down the surface and joints to get off any stubborn build-up of dirt and grime. Wait for the water to drain away and then repeat.
Step 3: Apply the Jointing Mortar
While the surface is still damp, use a jointing mortar that matches the colour of your stone, we recommend Rompox Easy Jointing Mortar. Pour this onto the surface and brush it into the joints between your patio. Using the sprinkler setting on your hose pipe, wet the slabs again to allow the Rompox to compact more.
Step 4: Finishing Touches
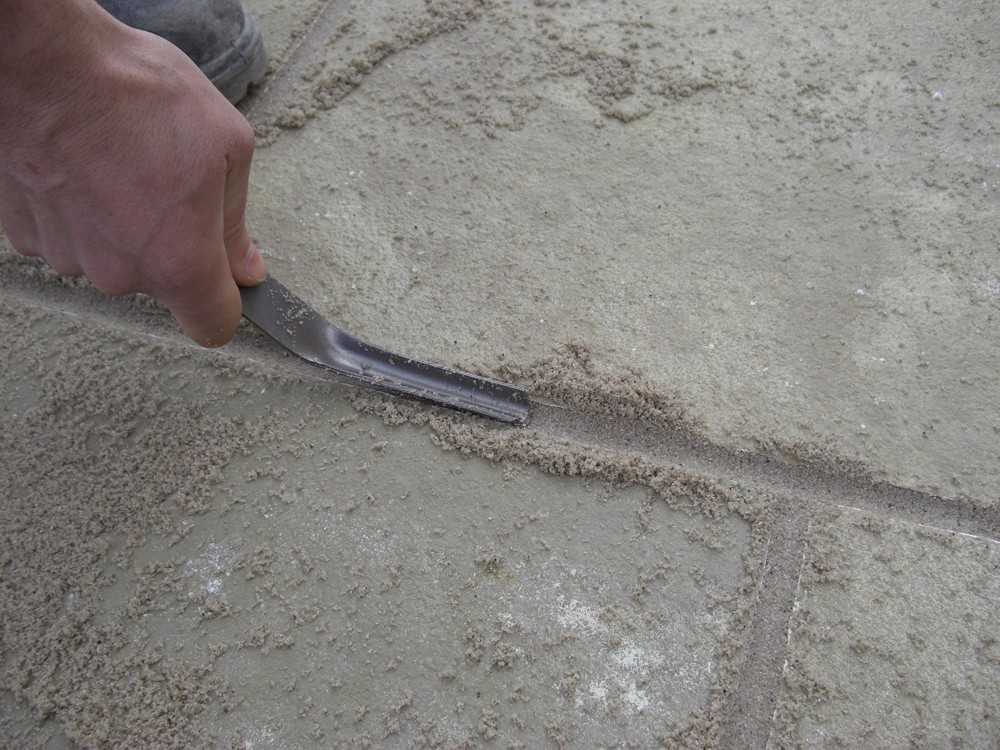
Brush over your patio again to ensure any leftover Rompox is brushed into the gaps. Once this is done, wet for a second time once again using the sprinkler setting. Grab a pointing tool to give a nice finish to the joint, as shown in the image below.

Here we are using the Marshalltown Pointing Tool to compress the pointing mortar. Finally, leave it to dry and avoid the area for 24-48 hours.
Tips & Advice
What Pointing Mortar do you Recommend?
We like the Romex Rompox Easy range - is a highly water permeable pavement fixing mortar that allows almost all quantities of rainwater to seep into the ground. Due to the open porous structure of ROMPOX - EASY, all the requirements for a water permeable and thus environmentally friendly pavement fixing mortar are fulfilled.
Benefits to Romex:
- Allows you to pressure/power wash your paving without worrying that the mortar will be blasted out of your joints
- It will not discolour
- The compound bonds to the stone rather than just setting in the joints in a rigid shape
- It is not affected by frost and ice
Application
- Application time is 20 to 30 minutes at +20 degrees C (working temperature)
- At low temperatures there is slow hardening
- At high temperatures there is quick hardening
- Surfaces can be walked on after 24 hours - Minimum joint width 5mm
